
StarCraft Printable Vinyl: Secret Pro Tips You NEED to Know!
Meta Title: StarCraft Printable Vinyl Guide: Pro Tips & Tricks
Meta Description: Unlock the secrets of StarCraft printable vinyl! Learn how to get perfect prints, avoid common mistakes, and create stunning crafts. Pro tips inside!
Printable vinyl has revolutionized the crafting world, opening up a universe of possibilities for personalized projects. Among the leading brands, StarCraft printable vinyl has carved a niche for itself, known for its versatility and ease of use. Whether you’re a seasoned crafter or just starting out, mastering the art of printing on StarCraft printable vinyl can elevate your projects to the next level. This guide will dive deep into the secrets, providing you with the pro tips you NEED to know to achieve professional-quality results.
Understanding StarCraft Printable Vinyl: The Basics
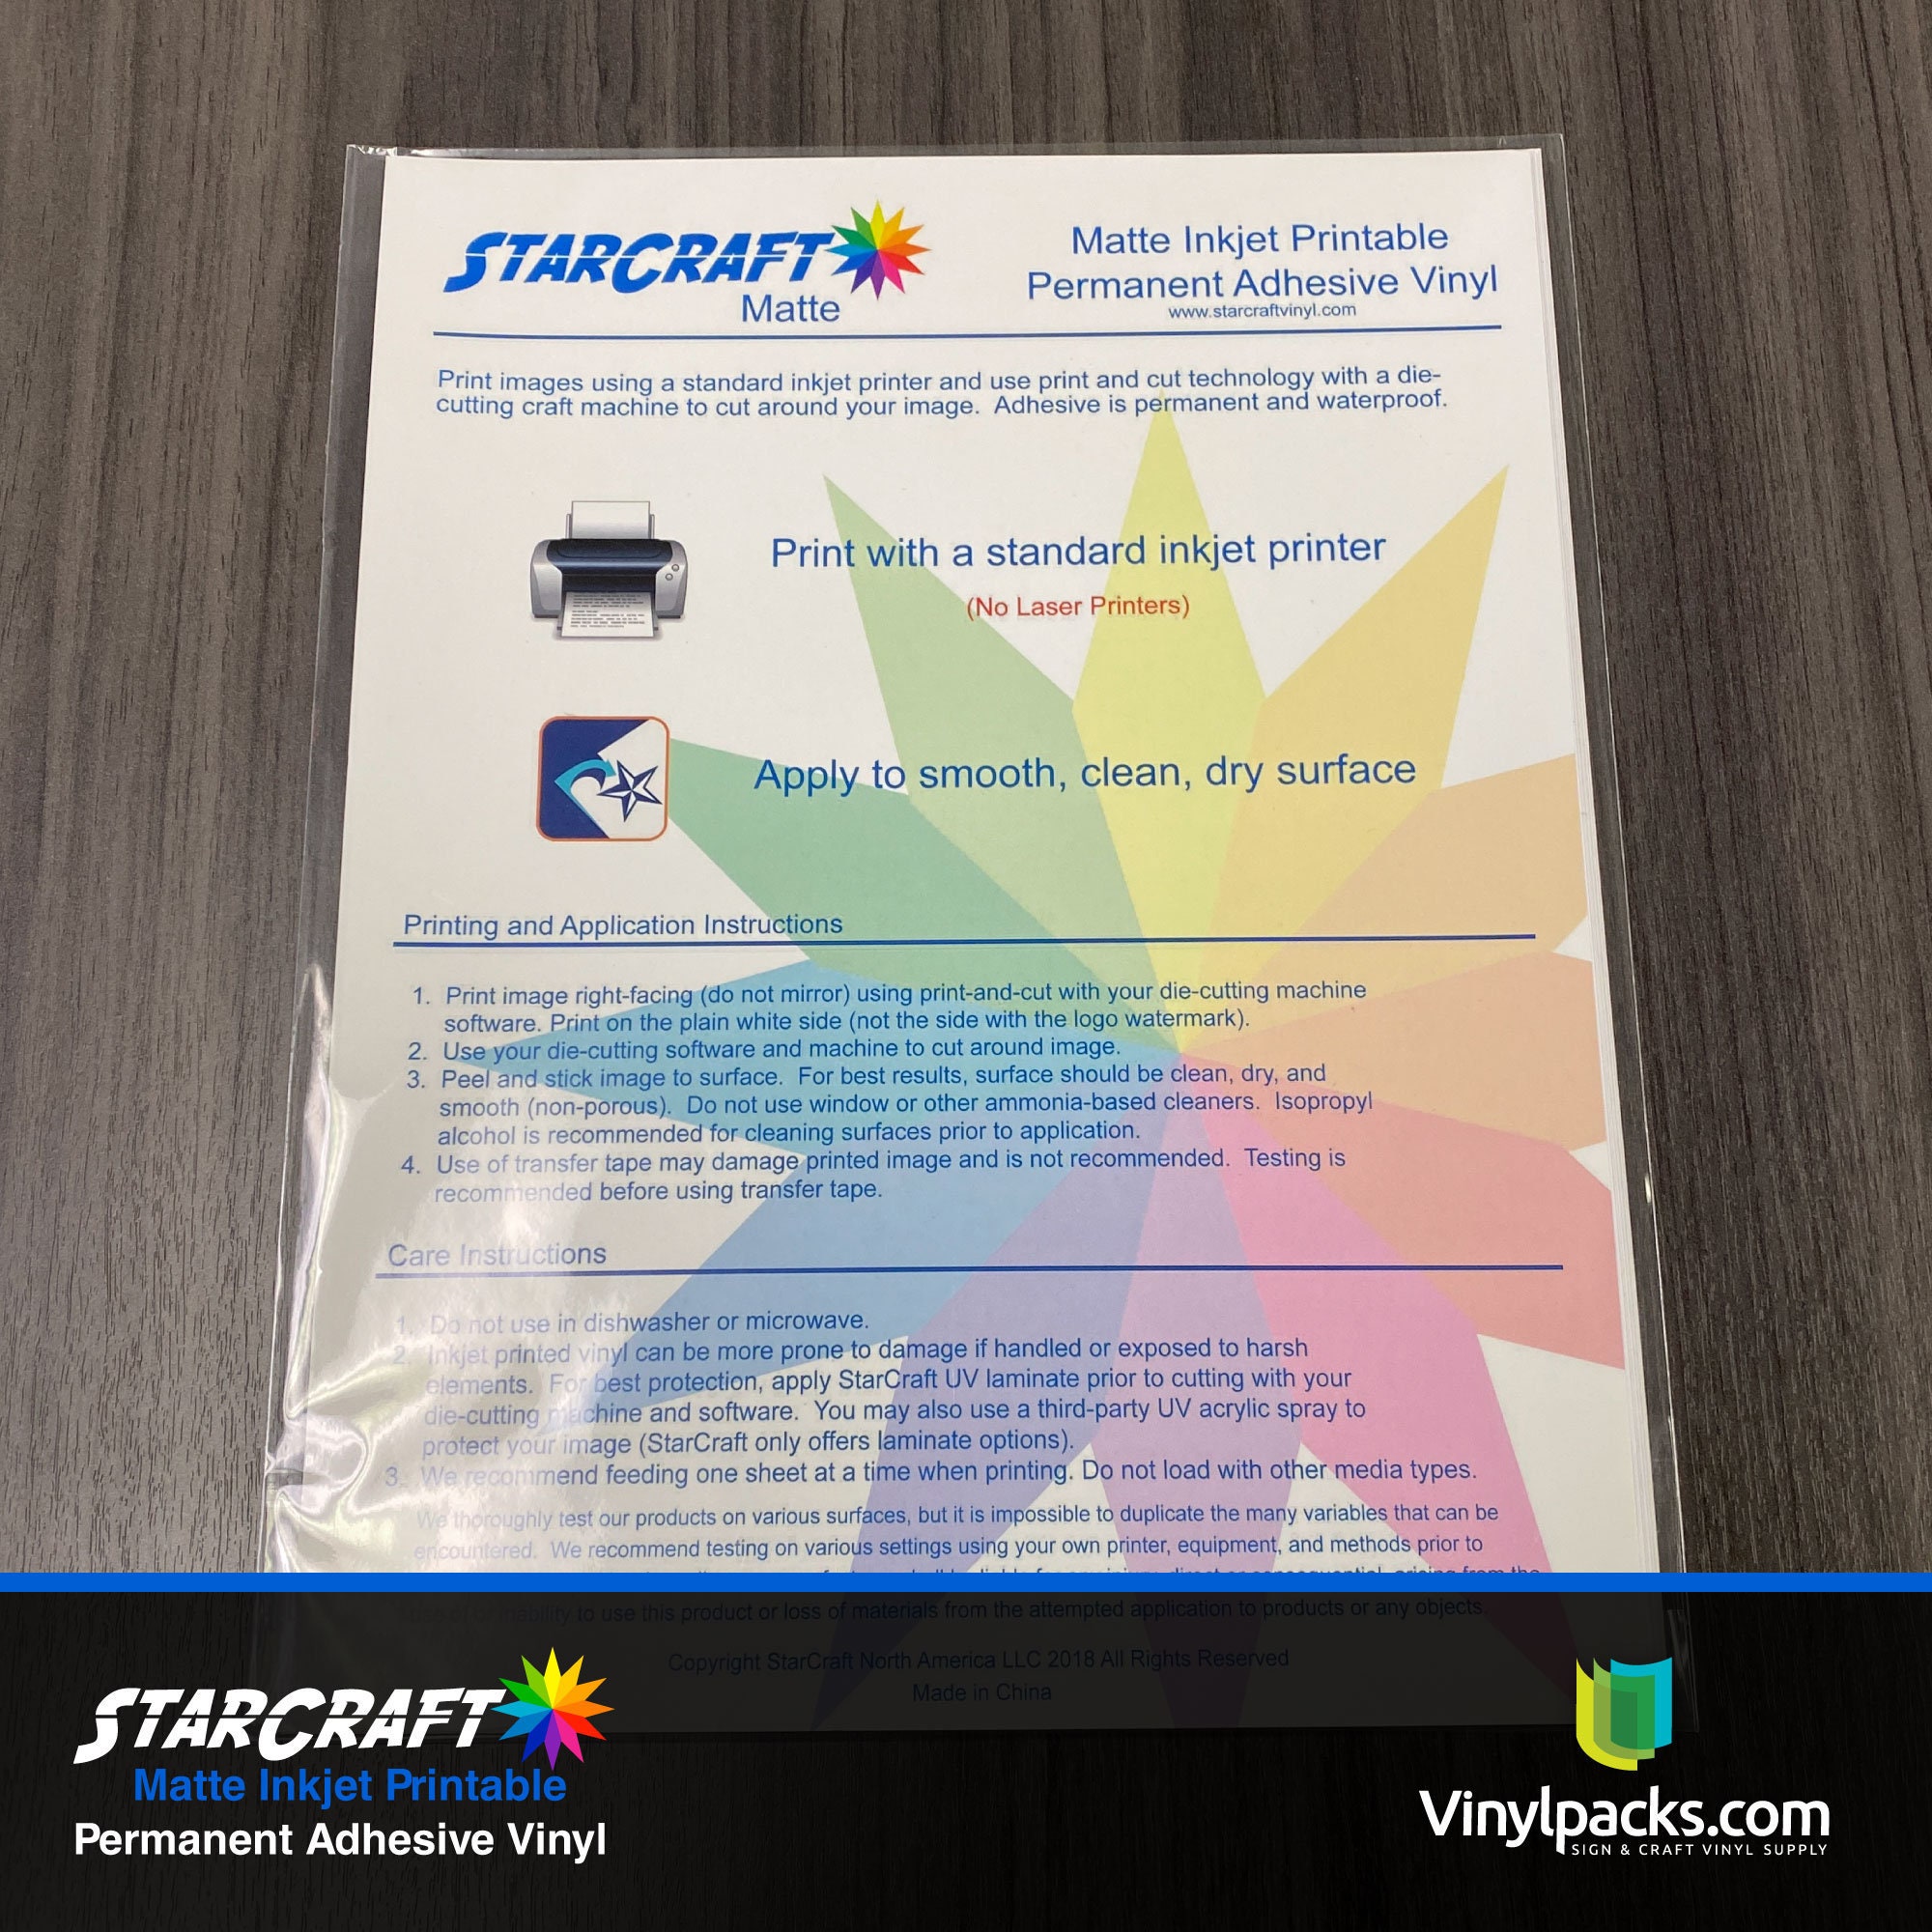
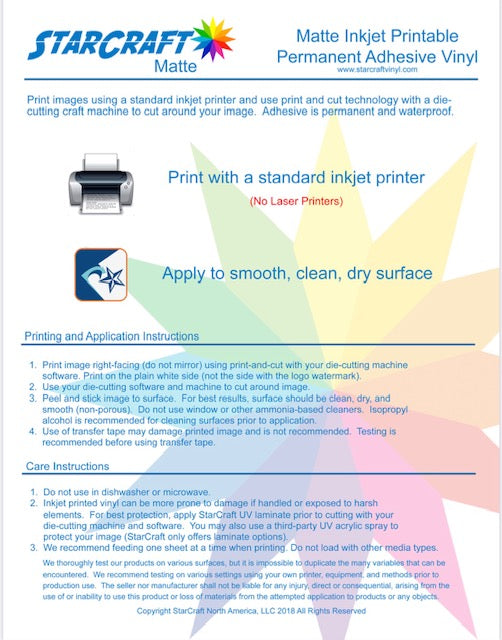
Before diving into advanced techniques, it’s crucial to understand the fundamentals. StarCraft printable vinyl is essentially a thin, adhesive-backed material designed to be printed on using inkjet or laser printers. Once printed, the image can be cut out and applied to various surfaces.
- Types of StarCraft Printable Vinyl: StarCraft offers a variety of printable vinyl options, including:
- Glossy: Provides a vibrant, shiny finish, ideal for eye-catching graphics.
- Matte: Offers a more subtle, less reflective look, suitable for text-heavy designs or projects where a softer aesthetic is desired.
- Clear: Allows the underlying surface to show through, making it perfect for applying over existing designs or adding custom touches to clear objects.
- Glitter: Adds a touch of sparkle and pizzazz to your creations.
- Compatibility: Ensure your printer is compatible with printable vinyl. Most inkjet printers work well, but laser printers may require specific types of vinyl. Always check the manufacturer’s recommendations.
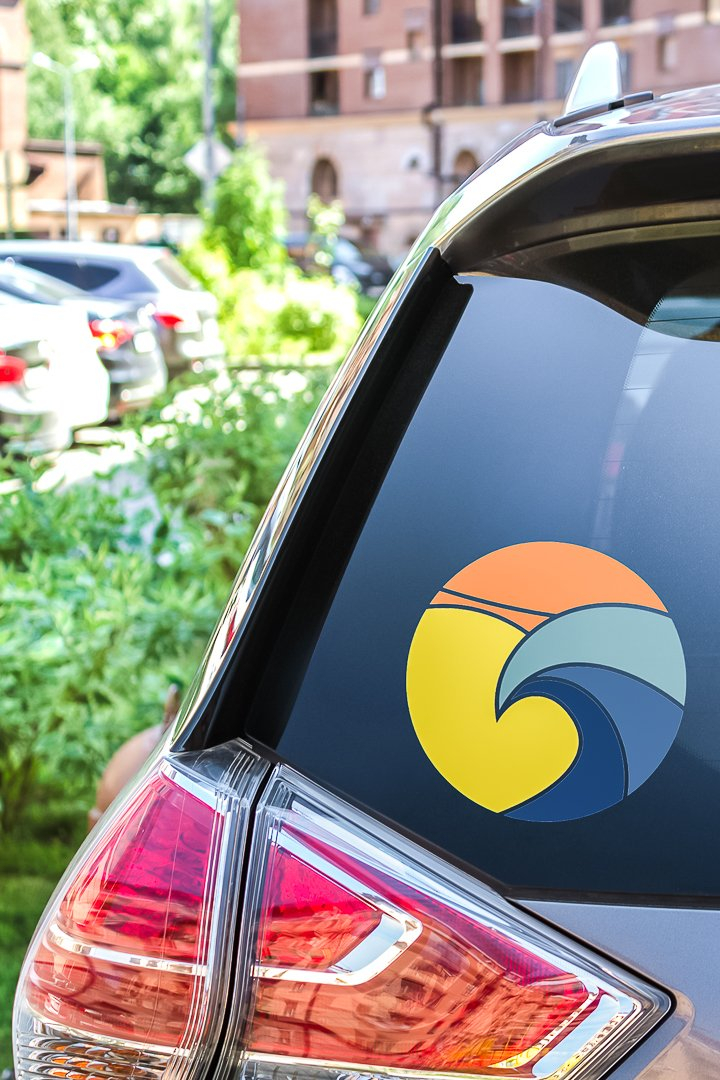
- Adhesive Strength: StarCraft vinyl typically boasts a strong adhesive, ensuring your designs stay put on various surfaces. However, the adhesive strength can vary depending on the specific product and the surface it’s applied to.
Preparing Your Design for Print
The foundation for a successful print lies in proper design preparation. Neglecting this step can lead to blurry images, color inaccuracies, and wasted materials.
Design Software and File Formats
Choosing the right design software is critical. Popular options include:
- Adobe Photoshop/Illustrator: Industry-standard software offering advanced features and control. (Consider linking to Adobe’s website: https://www.adobe.com/)
- Canva: User-friendly, web-based software with a vast library of templates and design elements. (Consider linking to Canva’s website: https://www.canva.com/)
- Silhouette Studio/Cricut Design Space: Software designed specifically for cutting machines, also allowing for basic design and printing.
When creating your design, ensure it’s high-resolution (at least 300 DPI) to prevent pixelation. Common file formats include:
- PNG: Preserves transparency, ideal for designs with cut lines.
- JPG: Suitable for images without transparency requirements.
- PDF: A versatile format that maintains image quality.
Color Profiles and Calibration
Color accuracy is paramount. Your printer’s color profile determines how it interprets colors.
- Calibrate Your Monitor: Ensure your monitor displays colors accurately. This is the first step in achieving true-to-life prints.
- Printer Color Profile: Use the printer’s color profile for the specific type of StarCraft vinyl you’re using. This profile tells the printer how to convert the digital colors into physical ink on the vinyl. You can usually find these profiles on the StarCraft website or through the printer’s software.
- Test Prints: Always perform test prints on scrap vinyl to check color accuracy before printing your final design. This allows you to make adjustments to your design or printer settings.
Printing Techniques: Achieving Perfect Prints
Once your design is ready, the printing process itself requires attention to detail.
Printer Settings: Key to Success
Incorrect printer settings can lead to disappointing results. Here’s a breakdown of crucial settings:
- Paper Type: Select the correct paper type setting in your printer’s software. Choose “Photo Paper Glossy” or “Photo Paper Matte” based on the type of vinyl you’re using.
- Print Quality: Choose the highest print quality setting (e.g., “Best” or “High”) for optimal detail and color vibrancy.
- Borderless Printing: If desired, enable borderless printing to print your design to the edge of the vinyl.
- Drying Time: Allow ample drying time after printing, especially when using inkjet printers. This prevents smudging and ensures the ink fully adheres to the vinyl.
Handling and Drying Your Prints
Proper handling and drying are crucial to prevent damage and ensure longevity.
- Avoid Touching the Print: Handle the printed vinyl by the edges to prevent fingerprints and smudging.
- Allow Adequate Drying Time: Inkjet prints, in particular, require sufficient drying time. Let the prints dry for at least 30 minutes, or longer in humid environments.
- Sealing Your Prints: Consider sealing your printed vinyl with a clear sealant (like a UV-resistant spray) to protect them from scratches, fading, and water damage, especially for outdoor applications.
Cutting and Application: The Final Touches
Once your prints are dry, it’s time to cut and apply them.
Cutting with a Cutting Machine
Cutting machines, such as Cricut or Silhouette, are essential for precise cutting.
- Cutting Settings: Experiment with different cutting settings to find the perfect balance for your StarCraft vinyl. Start with the manufacturer’s recommended settings and adjust based on your results.
- Test Cuts: Always perform a test cut on a small piece of vinyl before cutting your entire design. This helps you fine-tune the settings and prevent wasted materials.
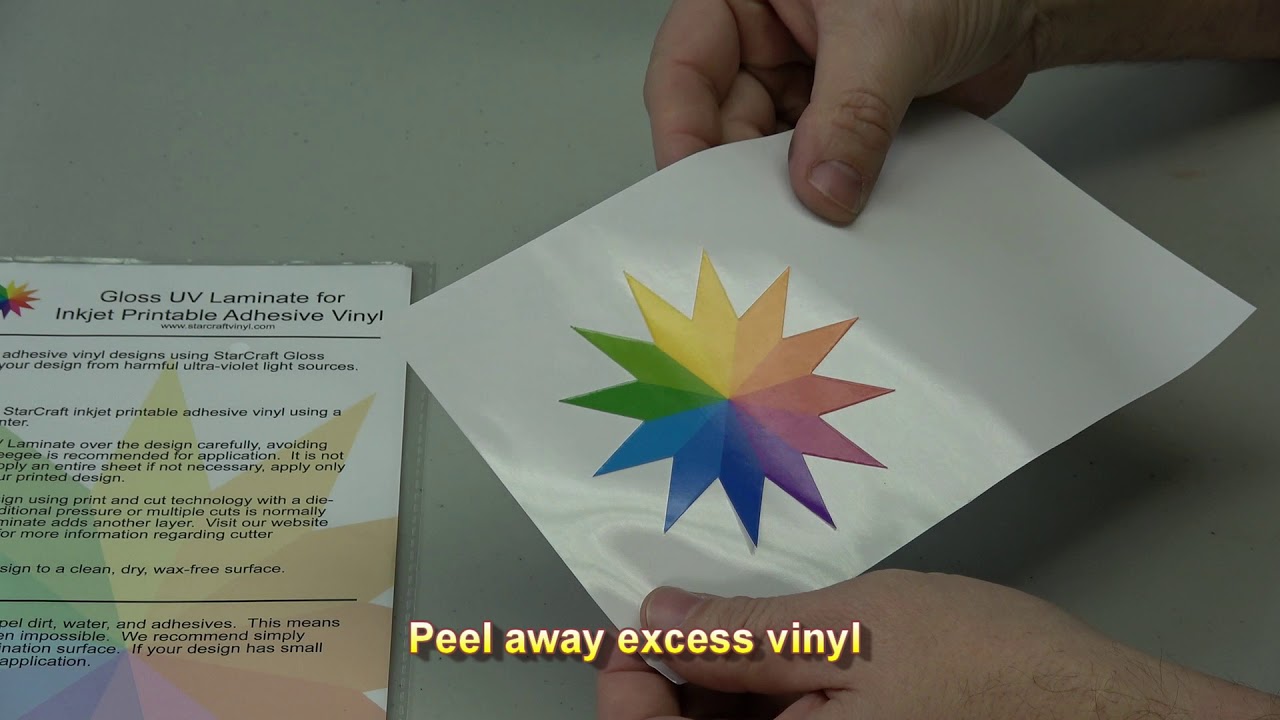
- Weeding: Carefully weed away the excess vinyl, leaving only the desired design.
Application Techniques
Proper application is key to a professional finish.
- Surface Preparation: Clean the surface you’re applying the vinyl to with rubbing alcohol to remove dust, dirt, and oils.
- Application Tape: Use transfer tape to lift the cut design from the backing and apply it to the surface.
- Squeegee: Use a squeegee to firmly press the vinyl onto the surface, ensuring it adheres smoothly and without air bubbles.
- Slow and Steady: Peel away the transfer tape slowly and carefully, checking that the vinyl is adhering properly.
Troubleshooting Common Issues
Even with the best techniques, problems can arise. Here’s how to troubleshoot common issues:
- Smudging: Reduce ink saturation in your printer settings, or allow for longer drying times.
- Poor Color Accuracy: Recalibrate your printer’s color profile and ensure you’re using the correct profile for your vinyl.
- Vinyl Not Cutting Properly: Adjust the cutting pressure and blade depth settings on your cutting machine.
- Air Bubbles: Apply the vinyl slowly and use a squeegee to remove air bubbles.
Conclusion: Mastering StarCraft Printable Vinyl
By following these pro tips, you can unlock the full potential of StarCraft printable vinyl and create stunning, professional-quality projects. Remember that practice and experimentation are key to mastering this versatile crafting material. Embrace the learning process, and don’t be afraid to try new things. With the right knowledge and techniques, you can transform your creative visions into reality. Continue to explore new techniques and resources to stay ahead in the crafting world. Happy crafting! (Consider linking to StarCraft’s website: https://starcraftvinyl.com/)
